
Picture Book: Layout Process
“Layout Process” for Illustrating a Picture Book.
My “layout process” for Illustrating a picture book is outlined below. Takeaways from various projects. It’s the groundwork before finished artwork (check out my other post to see!)
Step 01: Manuscript to Thumbnails
POINT 01: Paginate the Manuscript
I play with pagination in Microsoft Word. This takes the guesswork out when I get to the thumbnails. I feel like it warms me up and familiarizes me with the rhythm of the text. I like to do a few versions, but I know it will shift around once I start sketching thumbnails.
POINT 02: Doing many versions.
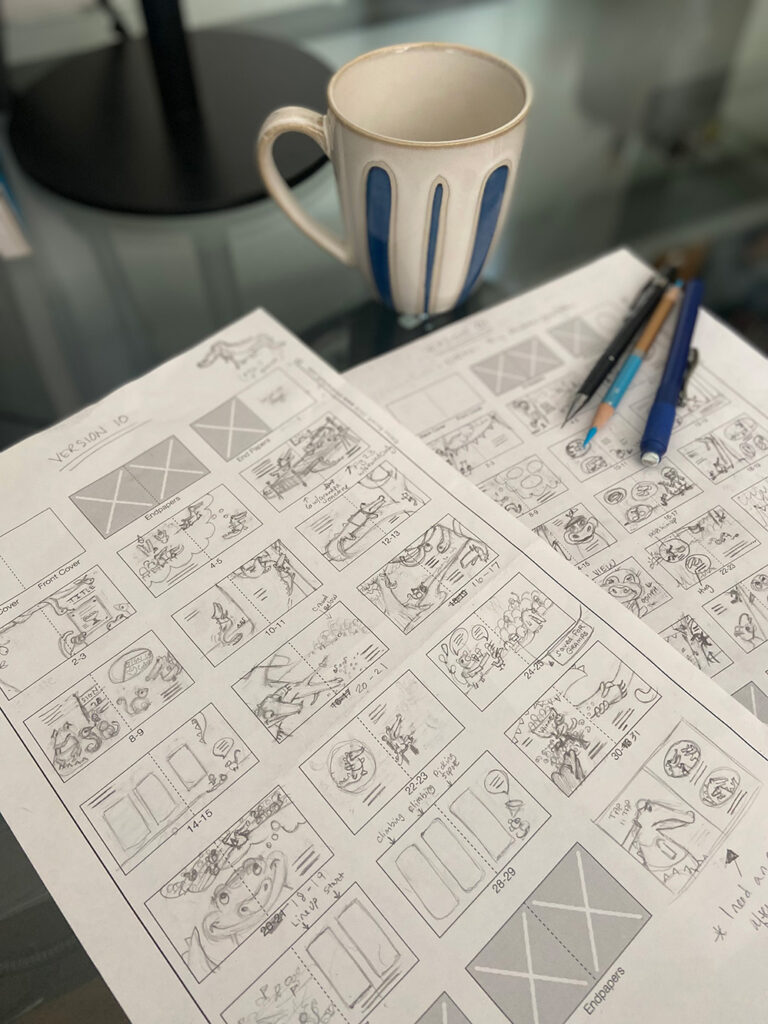
I print out many picture book thumbnail templates courtesy of Debbie Ridpath Ohi. Then, I pour myself a nice cup of coffee, find myself a quiet corner in the house with no distractions, and sketch out my first pass. It’s like stretching before a performance…I have to warm up. I put my first version aside, and do many, many more!
POINT 03: Decide Orientation
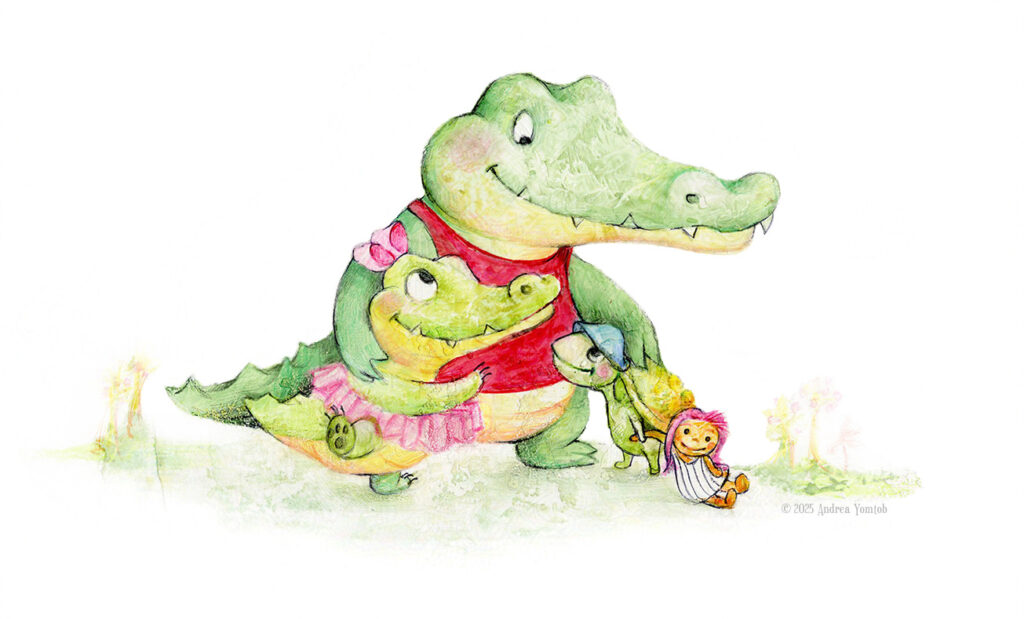
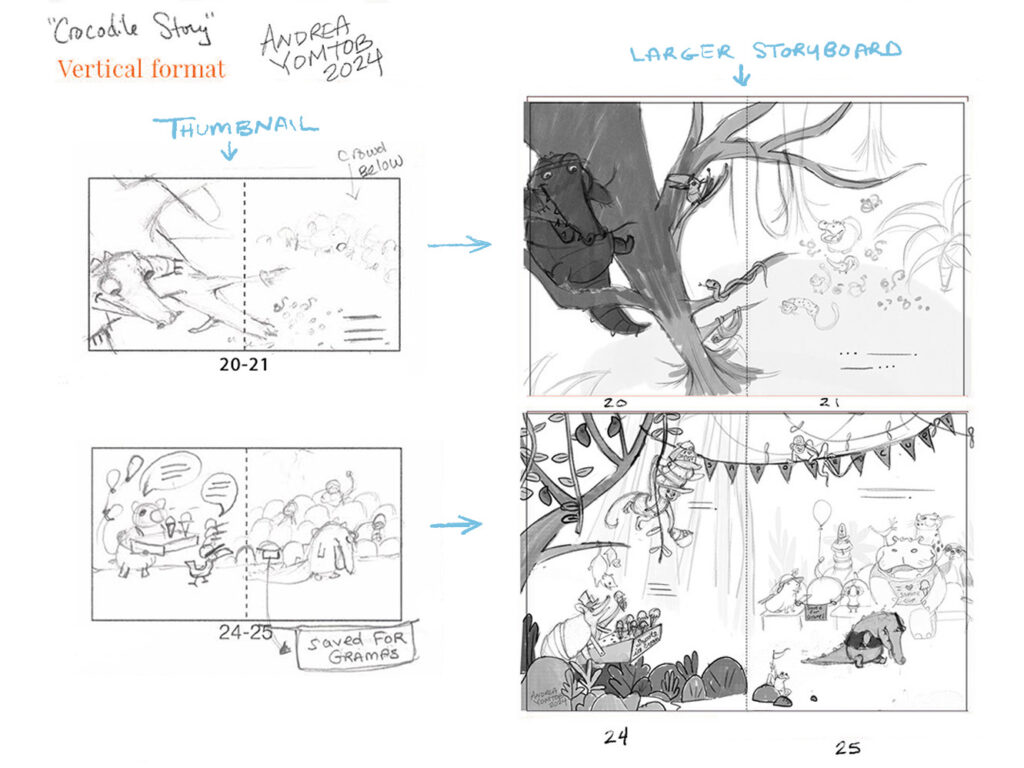
I choose Vertical, Horizontal, or Square based on various reasons. In my case, I’m drawing a crocodile who climbs trees, so I’m going with a vertical format.
Step 02: Thumbnail to Larger Storyboards
POINT 01: Staying Creative and Loose
My thumbnails are like cliff notes -quick scribbles in some cases (as you can see in the picture above). This helps me focus on telling the story instead of worrying about the artwork. I maintain this headspace when I enlarge them. Keeping in mind a favorite quote I heard, “If story is King, then clarity is Queen.”
POINT 02: Befriending the characters
What does the main character like to eat for lunch? Do they have a short temper when they don’t get what they want? These questions probably sound silly, but I like to imagine if I were the character. It helps me capture their personality and emotions. I’ll do character designs and play with poses.
POINT 03: Simplify
Then, I clean up my sketches, simplifying what I can. I love adding detail, but try to strike a good balance. I think about the shapes of my characters with their environment, text placement, and FG/MG/BG to help build a layout.
Step 03: Cleaning up Storyboards
POINT 01: Character Interaction
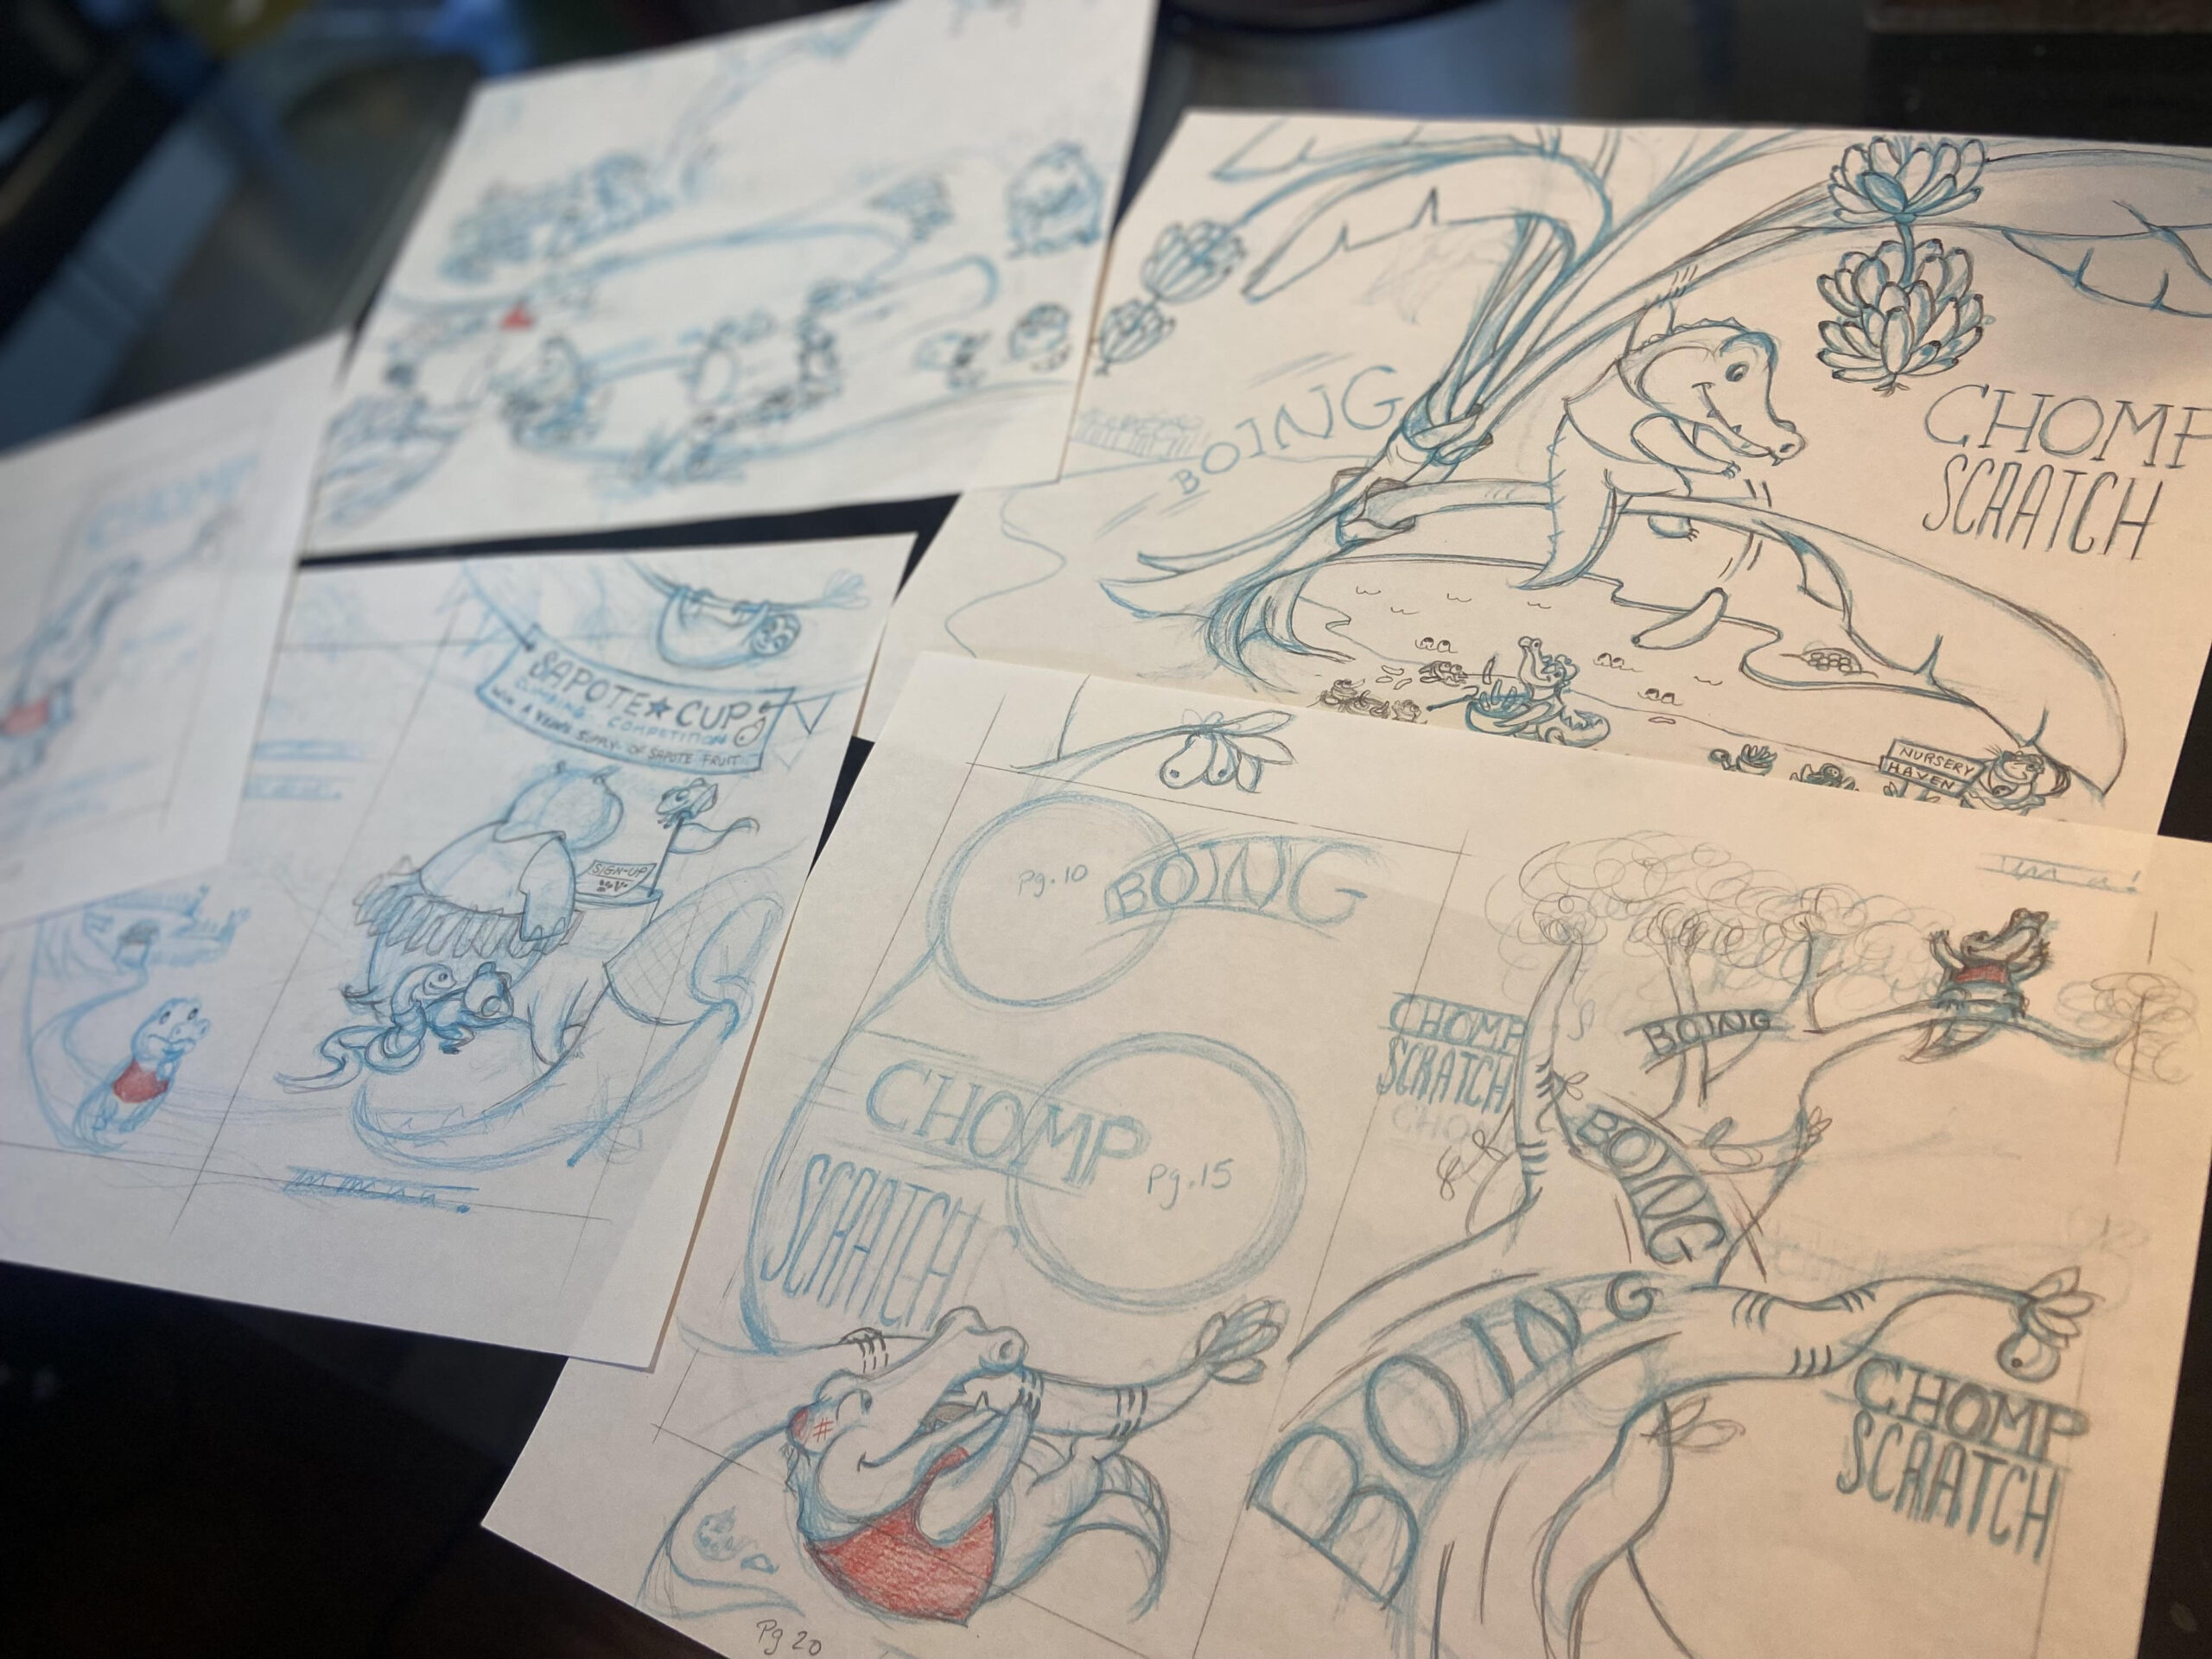
I love putting detail in the art for readers/kids to find. Including having side characters interact in some way.
POINT 02: Being Generous with Space for Text
When refining the illustrations, I keep in mind text placement; giving it enough breathing room. I’ll shade the “shapes” on the page with gray which helps me see the variety of layouts clearer.
POINT 03: “Shapes” on the Page
I think about the “shapes” on my pages. For example, you can see the circles above. I consider how that will look opposite the page with the tree. In general I like to keep a variety of layouts, but it always depends on the story of course.
POINT 04: Final Review!
I scan my cleaned-up storyboards into Photoshop and replace my earlier sketches in my 32-page thumbnail template. I reduce the viewing size and assess for any revisions.
That’s It!
So there you have it! Those are my steps when initially laying out a picture book. Of course, there are many ways, but this is what currently works for me.
In the next post, I’ll outline my approach to final illustrations and fun medium experimentations. You can see my post about my art painting process HERE. My favorite part!